
Something I love to do with my family is check out the local farmer’s markets and pick your own fruit farms. Last year, we took it a step further and canned our own apple sauce and tomato sauce! Woot Woot! It was an adventure for sure :) Canning allows you to know exactly what ingredients are in your food! Canning and freezing foods are great ways to save money on healthy foods and preserve at peak ripeness and freshness.
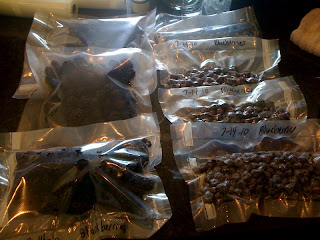
Below are blueberries and blackberries. I used food saver bags to seal them and put them in the freezer. You can also wash them, lay them out on a cookie sheet and flash freeze them in the freezer. Then transfer the berries to ziplocs! Freezing in big batches allows you to have fresh berries all year long! They are especially good in pancakes, muffins and cakes.
Canning is another great way to preserve! Here is a step by step way to can peaches:
A 1/2 peck of Freestone Peaches made about 9 pint size jars of peaches. You definitely want to get the Freestone Peaches because the peach comes away from the core. The Clingstone Peaches “cling” to the core and you’ll end up with something that looks more like mush than peach slices as an end result. The peaches I used to can are from Irons Fruit Farm and it was about $16 for 1 peck of peaches.
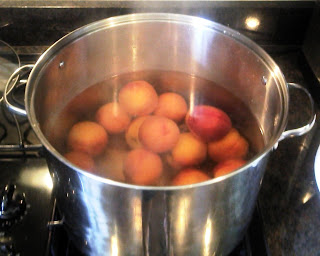
Step 1 – Wash the peaches
Step 2 – Peel the peaches
Step 3 – Cut the peaches Cut the peaches in half, or quarters, or slices, as you prefer! Remember to remove the pits!
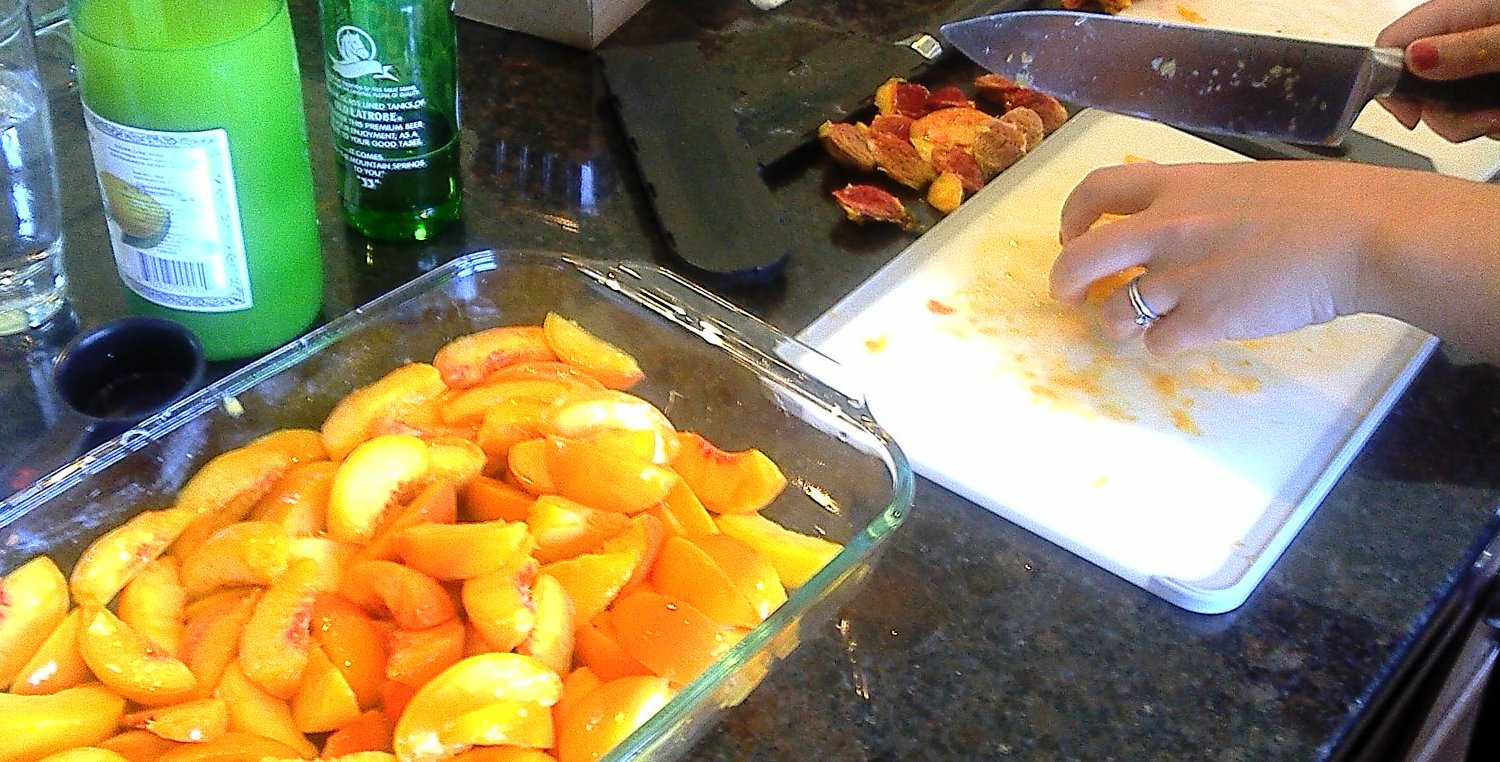
Step 4 – To keep the fruit from turning brown you can sprinkle 1/4 cup lemon juice over the peaches and make sure all the surfaces have been coated. (if you see above, I put it in a casserole dish and “tossed” the peaches with my hands with the lemon juice)
Step 5 – Prepare the sugar solution
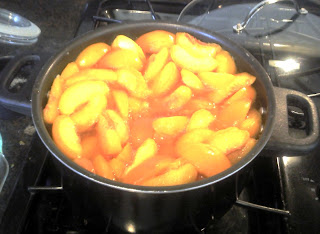
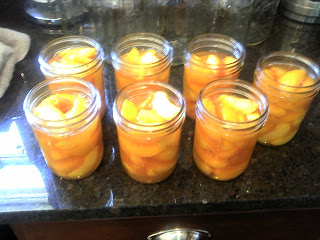
In this step, I added the peaches into the sugar solution for 5 minutes. I then packed the peaches into sanitized jars (leaving 1/2 to 1 inch space at the top) and covered with boiling sugar syrup leaving 1/2 inch head space.
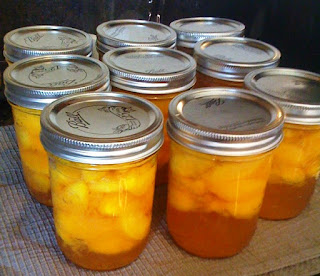
Step 7 – To process I used a Dial-Gauge Pressure Canner. The processing time was only 10 minutes once it got to the correct pressure. See your canner instruction manual for an exact time.
For more details about canning we like the Pick Your Own website.
If you’re looking for a pick your own farm in your area click here and get the kids involved! They really enjoy the novelty of picking their own fruits and it helps you out in the process! If you are looking to start canning yourself, check out some great supplies to begin with.
We would love to hear your tips and tricks on canning peaches! Happy Canning!


{ 0 comments… add one now }